
Hi this is Maria… Welcome to Maria’s Craftroom! Today I’m showing you what you need to know to start using Noteshelf for Digital Planning. Sometimes it’s hard to know what to do after you do all the shopping and research, decide which planner is best for your needs, what stickers to buy, which app to work in… It’s all very confusing. I will try to go over all of the features, but once you’re using it, Noteshelf makes digital planning very simple.
Instructions:
First, make sure you already have purchased and downloaded the Noteshelf App. We will go straight into how to import a planner and show how to add in stickers from various sources.
Some people like to work in sticker books, so we will go over how to use one from Goodnotes as well as one from Noteshelf. I actually show the same sticker book in both of those apps. They work very similarly.
Next we will go over the main settings of the app. Some of these are VERY IMPORTANT for syncing devices and backups.
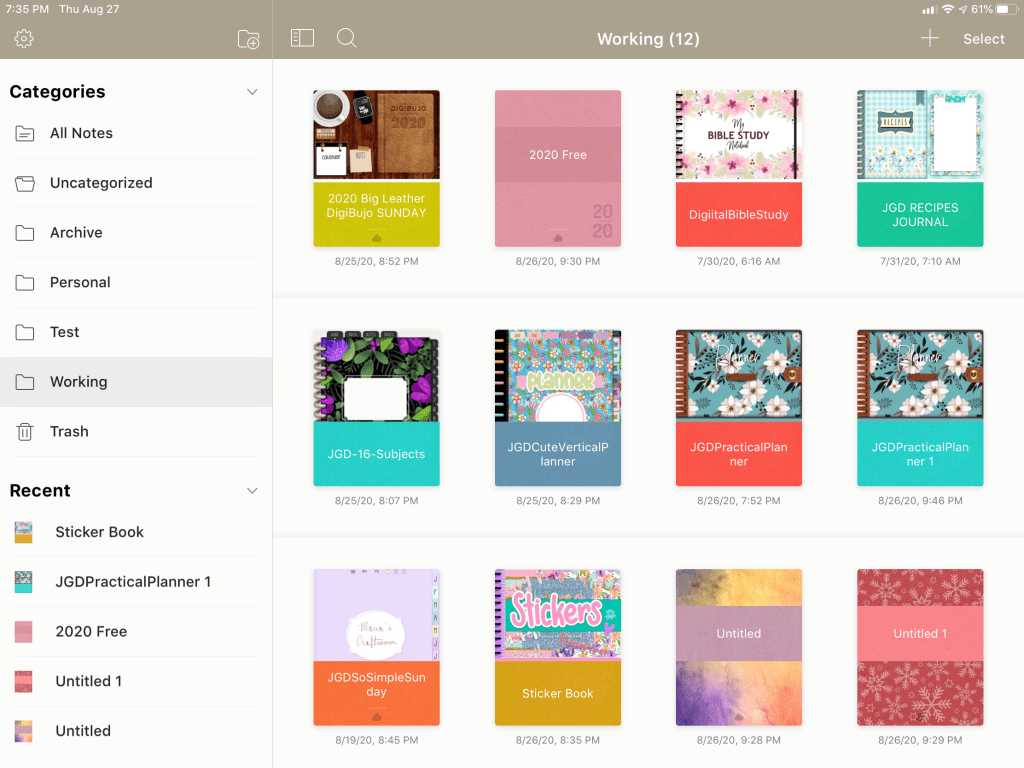
Next we go over the categories on the left side. These are great for organizing your planners like folders or bookshelf. This is also where your Trash category is. Always look there when you ACCIDENTALY delete planners.
Then we will go over the top left functions such as tags, bookmarks, emoji, clipart. All of these are free and included in the app. There is an undo arrow, and if you long press it, you get redo as well.
Moving to the center of that top row is the pen tool and highlighter tool. You can add or remove colors and make favorites for quick access. The eraser tool has neat features as well as the text tool. You can use purchased fonts and save favorites here as well as set the default text for your planner. The lasso is probably my favorite tool. It has so many features: screenshot, cut, copy, delete, resize, color, convert to text, bring to front, send to back.
On the far right at the top is the shapes tool. This one straightens lines for you. Next is the zoom tool. Very handy with lots of settings to help you write neater within your planner. You can set margins, set the lines to match your planner and gives you a writing surface to place your hand on the tablet while writing. Very handy. Next is the share tool for sending copies to other apps or to print. Then, the thumbnail view of your planner with it’s own settings as well.
Finally, we will make a couple of free notebooks using the Noteshelf FREE pages!
Video Instructions:
🛍 Products Used in this video:
See disclosure below.
- Practical Planner: https://etsy.me/2CWVa3h [JGD]
- Font Bakery Bread: https://etsy.me/2YTYFxV [JGD]
- Sticker Book: https://etsy.me/2xkET5x [JGD]
- Watercolor Clipart Stickers: https://etsy.me/3fsNiVN [JGD]
- Floral Weekly Stickers: https://etsy.me/2WSkSOP [JGD]
- Pink Lemonade Stickers: https://etsy.me/2FXmKx5 [JGD]
✂️Use code MARIACOUPON to save 20% @JennyGollanDesigns
🌺Jenny Gollan Designs Facebook group: https://www.facebook.com/groups/DigitalPlannersWorldwide/
✍🏼Sign up for the Jenny Gollan Designs Newsletter for great info and freebies! It comes to you once a month. Sign up here: http://eepurl.com/0QFc9
Disclosure:
Crafting: All products were personally purchased. My videos express my experience and my personal opinion of the products I use. I do not work for nor represent any of these companies. I do not do sponsored videos.
Digital: I am a brand ambassador for Jenny Gollan Designs. However, I only show products I like and use myself. I either buy them, or get them at a discount unless otherwise identified as freebies.
